Sorry that it has been so long since my last post but all I can say is COVID! That seems to be the thing to do right, blame everything on COVID, I missed my trips to Disney - COVID, I did not get to any of the Jeep events I planned to attend - COVID, I have not purchased as many Jeep parts or could get together with friends for the install - COVID!!! COVID Sucks as we all know but there are still plenty of opportunities to have some great experiences while still being safe. Masks are Key as is frequent hand washing, and if you couple these simple steps with social distancing, then you can still enjoy and explore. I do tend to avoid crowded places as much as possible and will turn around and go home if it looks to "People-ly". Lastly, I tend to head places where others are not, that's part of the fun with Overlanding, it's socially distant by design.
Anyway, I wanted to catch you up on my bumper installs as I finally pulled the trigger and purchased ARB's Bondi full width bumper and ARBs rear bumper. I got tired of waiting for AEV to release their JL bumpers and the fact that they do not seem too concerned about their loyal customers with their frequent changes to the release date without any information or reasons. The great news is that I am really happy with ARBs products and love how the new bumpers look.
First, here are some observations:
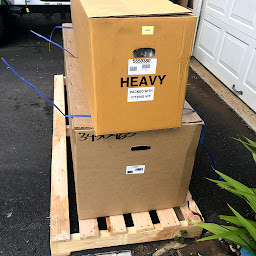
- Well packaged!
- Really well built bumpers with a high quality matte powder coating
- Well engineered tow points front and rear
- Multiple jack points front and rear
- Plenty of space for my Warn winch
- Mostly "plug and play"
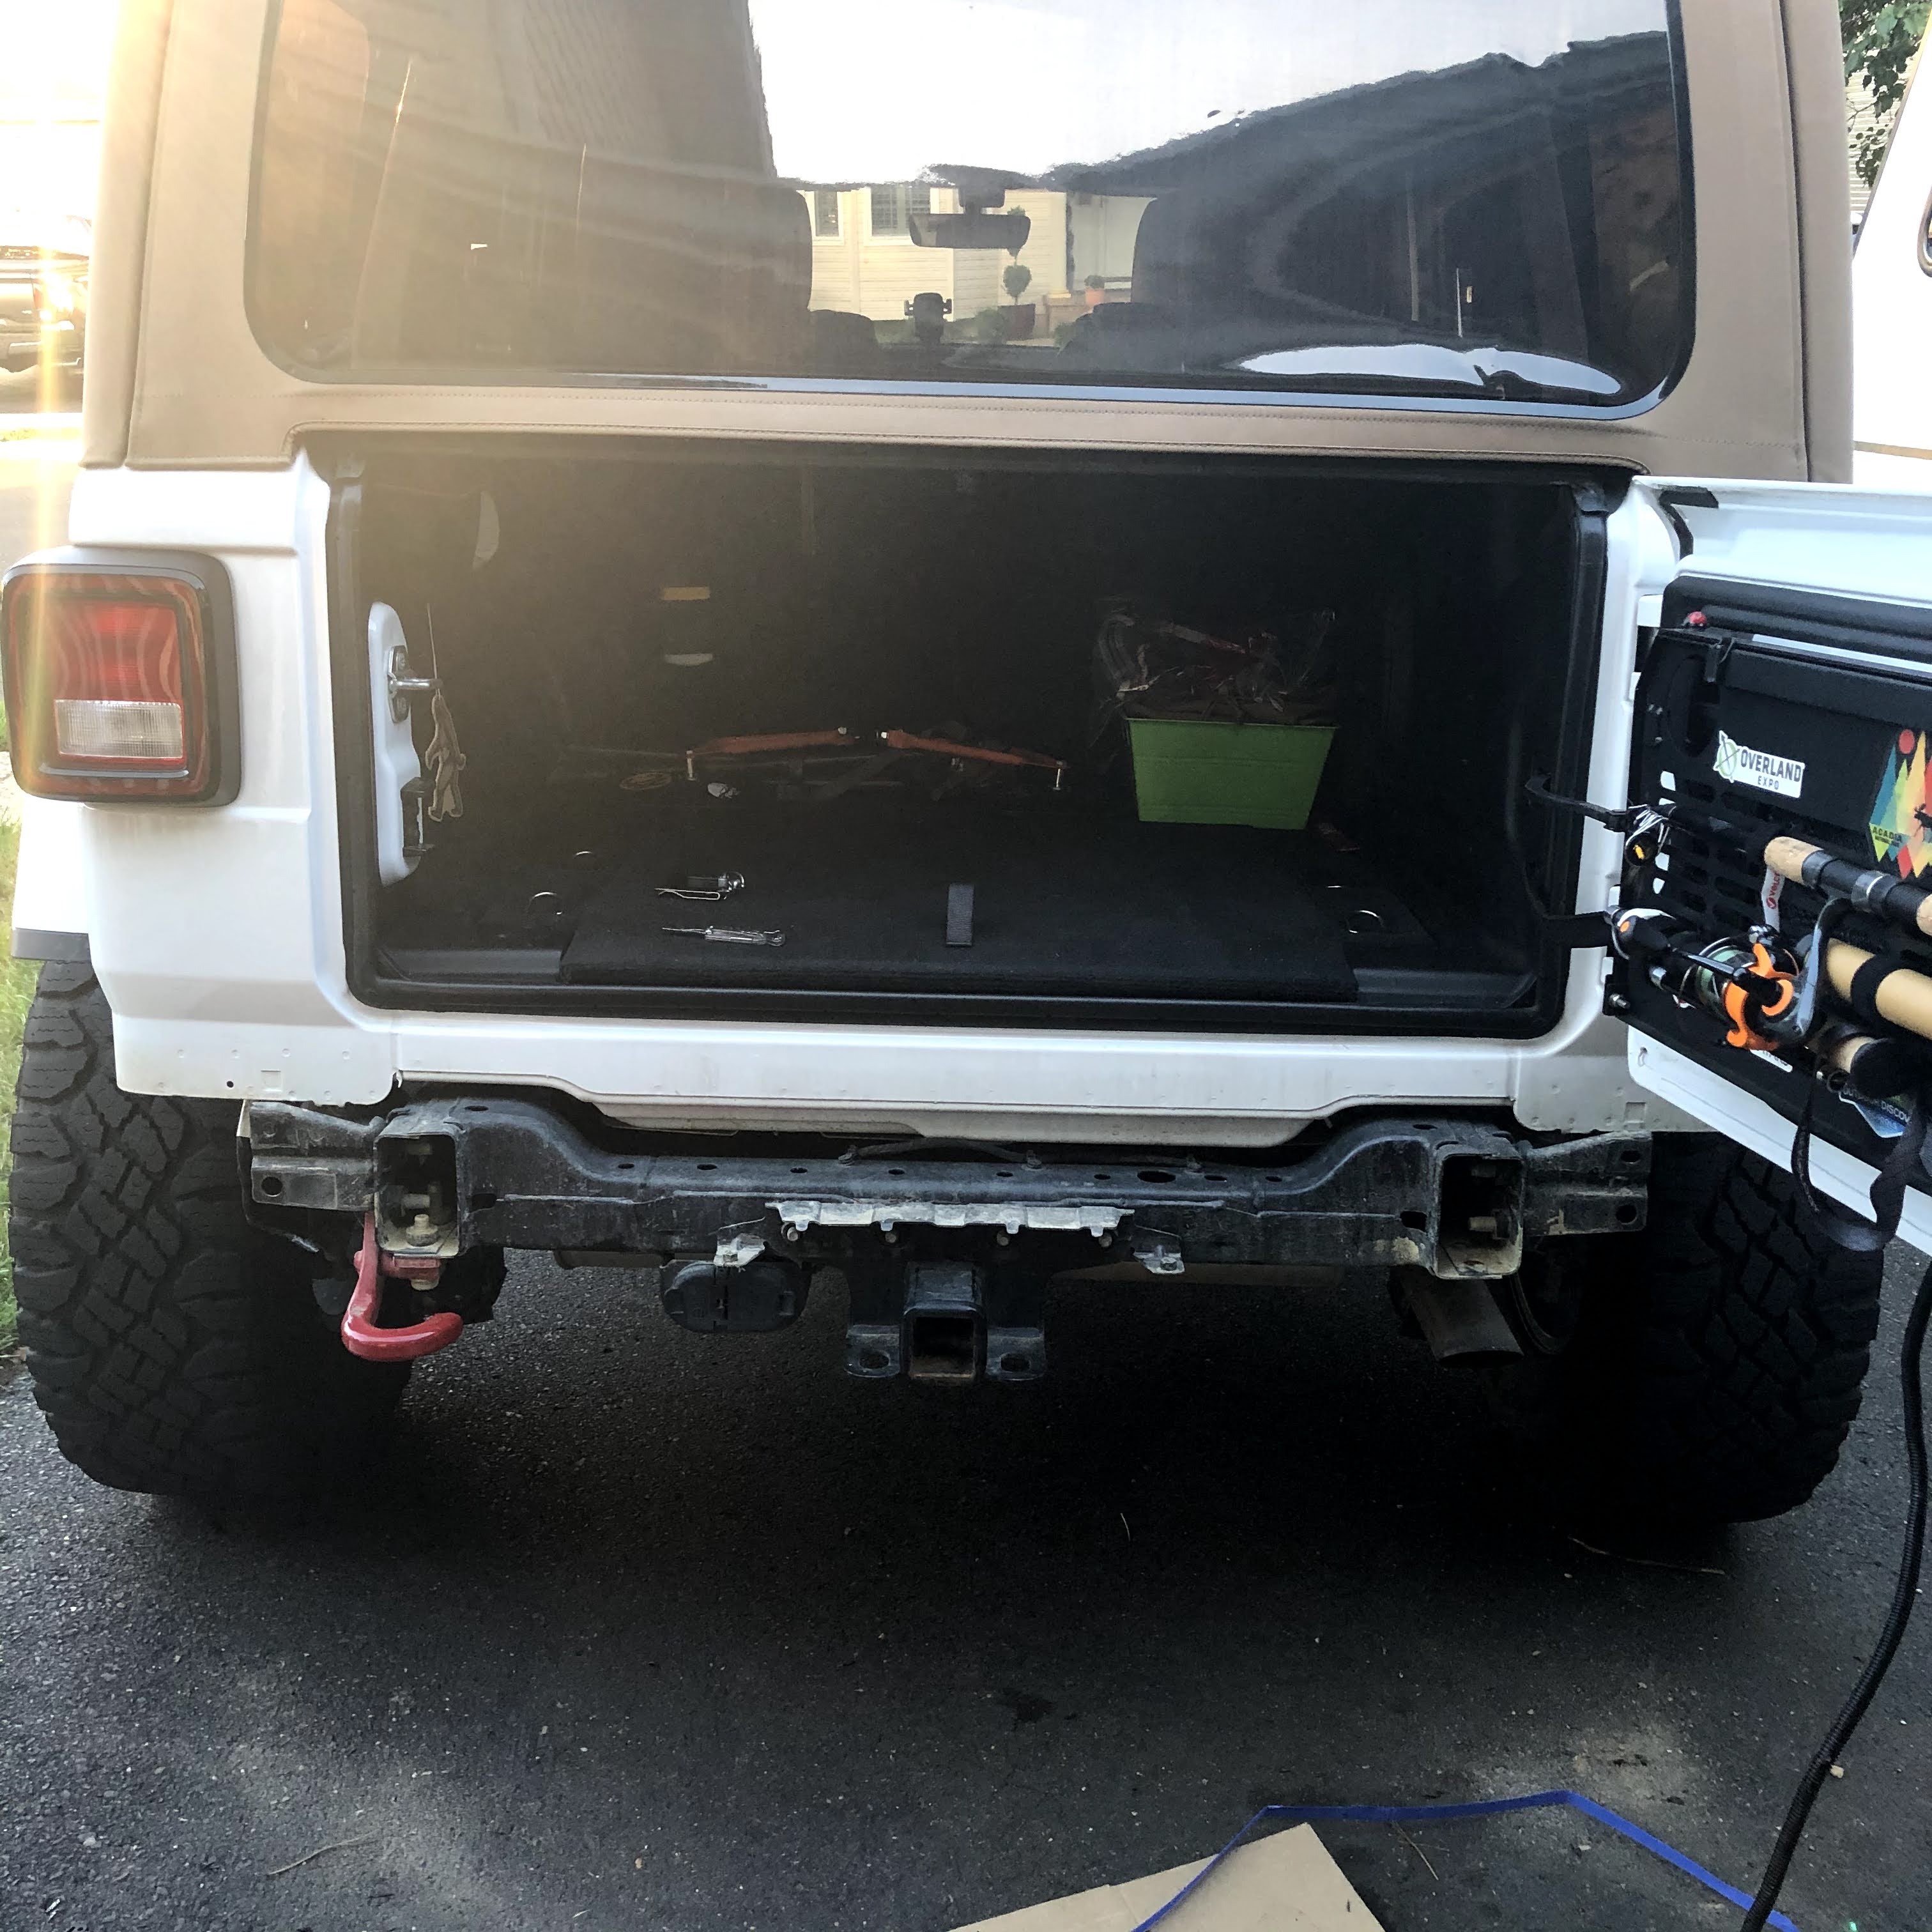
I started with the rear bumper as I was doing the install on the first day by myself and the front is just too heavy for one person to handle while using tools.
As always, I found something to hit with the rattle can, I sprayed the shackle mounts the proper shade of orange before the install for both the front and rear sets. Prior to this I had the original factory plastic bumper installed on the rear so removing it was very easy. Once it was gone, I test fit the new bumper and this is where I hit my first and only real "snag". The shackle mounts fit snug up against the frame rails and have to align perfectly to fit the bolts through and still have the ability to tighten them.
There are two, (one on each side) sections of the frame that interfered with the install that I could not figure out how to make it work without the grinder! The are not structural but just seem to be "extra" flaring of the metal on the ends. I simply ground off the two edges and it fit like a glove!
My son came out and helped lift the bumper and hold it in place while I tightened everything down but this could easily have been done start to finish by one person.
The next day, my friend Chris cam over and we tackled the front...
The Journey is what counts, Adventure Awaits!
#jeeplife #rubicon #jl #jlur #wrangler #jeep #jeepporn #retrorubicon #arbusa