Well as we all needed some "face-time", we decided to setup four Adirondack chairs 15 feet apart (for safety), we all brought our own food and drinks, and spent the morning working on the Jeeps in masks and gloves while staying six feet apart and then with our spouses, enjoyed a distant lunch together. This was the first time any of us have "gotten together" since this all started and added some much needed sanity to our day. I am not proposing everyone run out and get together in anyway, but if you know someone who has been sequestered as long as you and there is a way to safely sit in the same yard, it really helped with my mental state.
Now, onto the install...
The first step is to read all the instructions and, thankfully, Clayton does a great job of keeping them short and to the point. Basically these are the high level steps:
- Do one arm at a time and work in an order so you don't miss anything. I started with the lower fronts, then moved to upper fronts, then lower rears and then upper rears one arm at a time.
- Disconnect any cables or brackets attached to the control arm
- Use a jack to keep the axle from moving or rotating
- Remove the old control arms
- Position the axle where you need it to be and measure from the center hole in the front mount to the center hole in the rear mount and write down the length
- Adjust you new control arms (both sides) to this length
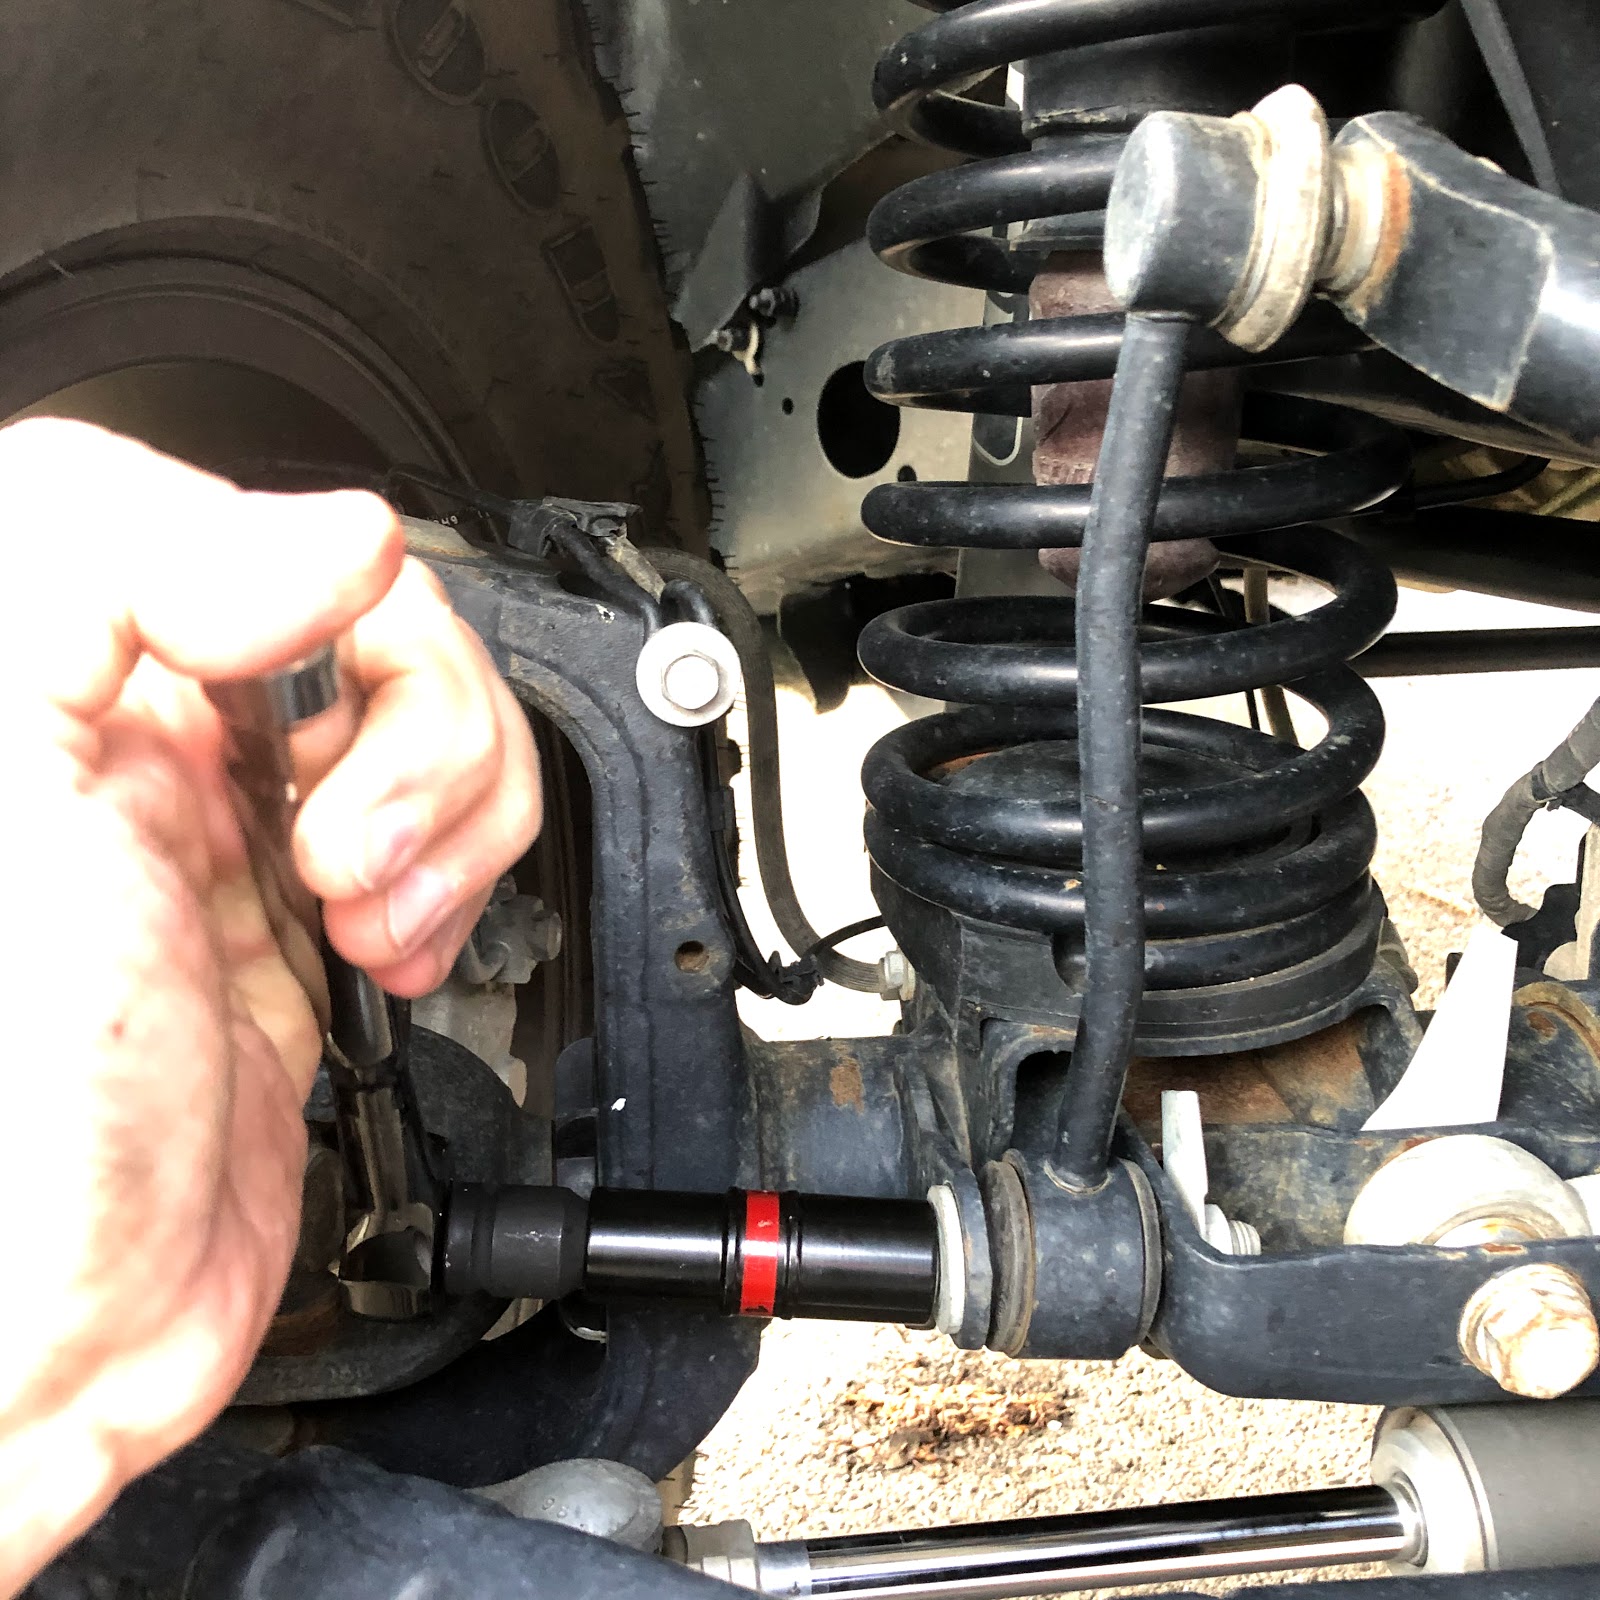
- Install your new control arm in place with the adjustable end towards the frame and torque everything down to spec
- Tighten the lock nut down to secure
- Reconnect any and all cables and brackets that you disconnected in the first step
- Repeat all steps on the other side


On the front upper control arms, there is a grommet with some cables connected. There is not a replacement position in the new Clayton control arms and I did not want to drill a hole into the new arm so I just used a zip-tie to reconnect the cables.


Once we had the front uppers swapped out and in place, we shifted to the rear and started with the lowers again doing one at a time starting with drivers side. Nothing hard on this side or on the passenger side lowers. Just follow the directions as is.
On the uppers, it is still an easy install but space is more limited on the passenger side as the gas tank really limits where your hands can fit as do this bracket...

 Again, it is not an issue but makes it a bit tight to work. On the passenger side, you will really need a second set of hands helping line up the control arm in the front with the hole, nut tab and bolt as there is zero space to fit your fingers in. This is not hard but just took a few tries to figure it out.
Once you get that done, you are ready to ride or "flex" as the case may be...


The Journey is what counts, Adventure Awaits!
#jeeplife #rubicon #jl #jlur #wrangler #gladiator #jeep #jeepporn #retrorubicon #claytonoffroad