 |
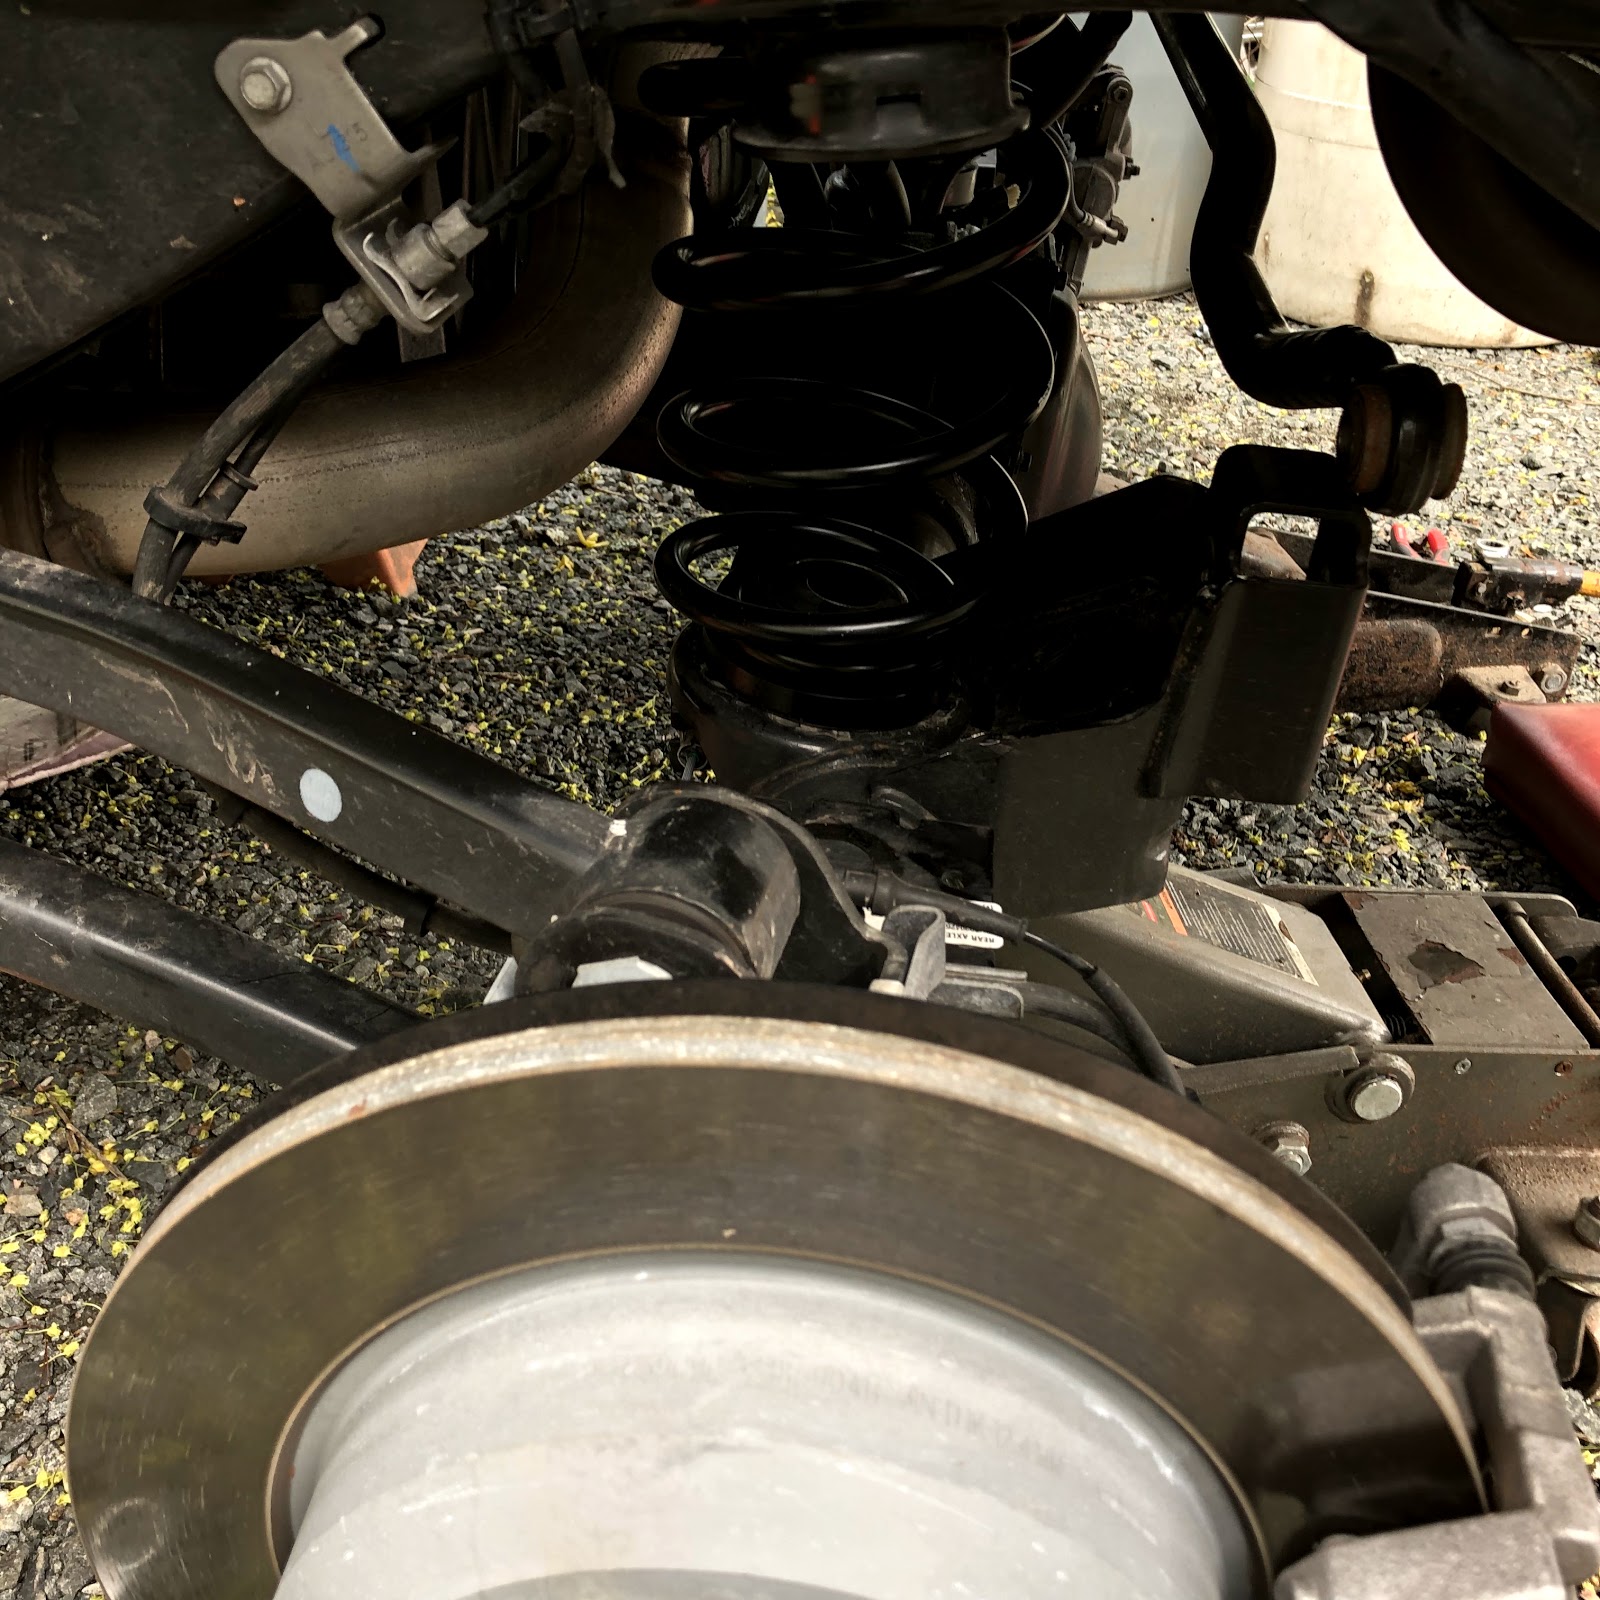
| Pre-Lift |
Scoring for the Rock Krawler Lift Kit install comes out to a 12 out of 15 so pretty good:
Price - 2 ($669.72)
Completeness of Directions - 2
Completeness of parts/materials - 2
Ease of Installation - 3
Final Product - 3
Scoring for the Teraflex Falcon Nexus 2.1 Shocks install comes out to a 14 out of 15 so it's the best so far:
Price - 2 ($597.64)
Completeness of Directions - 3
Completeness of parts/materials - 3
Ease of Installation - 3
Final Product - 3
Scoring for the Teraflex Bump Stops install comes out to a 15 out of 15 so it's the best so far:
Price - 3 ($85.49)
Completeness of Directions - 3
Completeness of parts/materials - 3
Ease of Installation - 3
Final Product - 3
All installation directions are online And were provided by the manufacturer so that was great. I still have to say that I love the way Teraflex packages their products and includes really easy to understand instructions right on the packaging making them almost fool proof. The Rock Krawler instructions were almost as good but it did take me some searching and weeding through options to understand exactly what I needed to do. The Rock Krawler instructions cover several of their 2.5 lift kits under the Adventure Series so you need to skip the steps or add them in depending on which kit you purchased. It's not hard but I did something find myself into a step realizing a bit late that it did not apply to my kit. No harm, no foul though...


Basically the steps are as follows:
- Start with the front of the vehicle. You will need jack stands and jacks to properly and safely lift the vehicle and support it throughout the various steps. PLEASE do not attempt this unless you know what you are doing and have the proper tools, you can either screw up your vehicle or severely injure yourself. Go to a licensed mechanic if you are not up to the task.
- Jack up your vehicle and remove the two front tires - make sure everything is safely supported.
- Disconnect the breather mounts
- Disconnect the right and left brake line mount.
- Disconnect the front cable for the electronic locker.
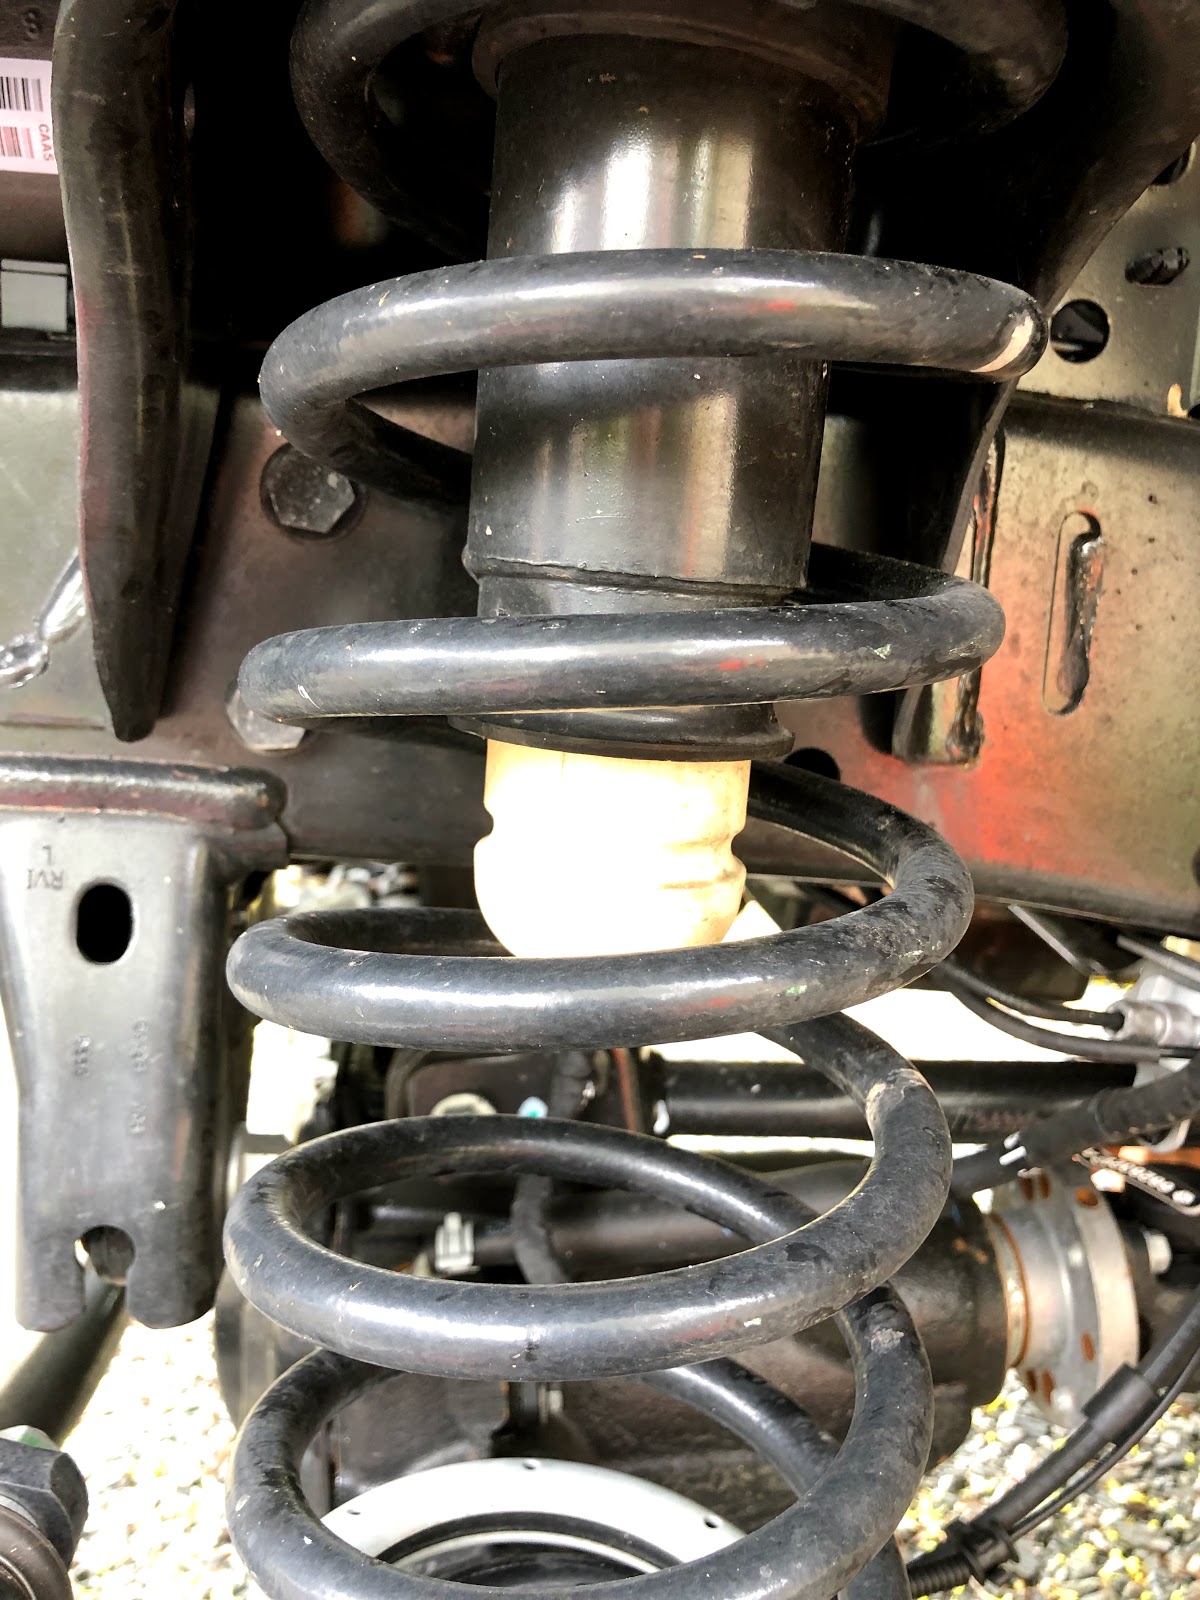
- With the Jeep safely supported by the jack stands. Begin to slowly lower the axle to release the pressure from the coil springs. Once it is low enough, the coil springs will come out.
- Remove and trash the old bump stops. They are simply pressed in and can be easily pulled out.
- Disconnect the Sway Bar links and trash the factory ones (you will use the factory rear sway bar links for the front once you get there)
- Disconnect and remove the factory tie rod
- Save all factory nuts and bolts according to the directions from the kits.
- At this point, you have everything off of the Jeep that you are removing from the front and can start to replace with the new parts...
- Install the new coil springs and the new lower mounts (you need to reuse the upper mounts) on both sides.
- Install the new bump stops - they simply are pressed back up into the "cups" the old ones came out of.
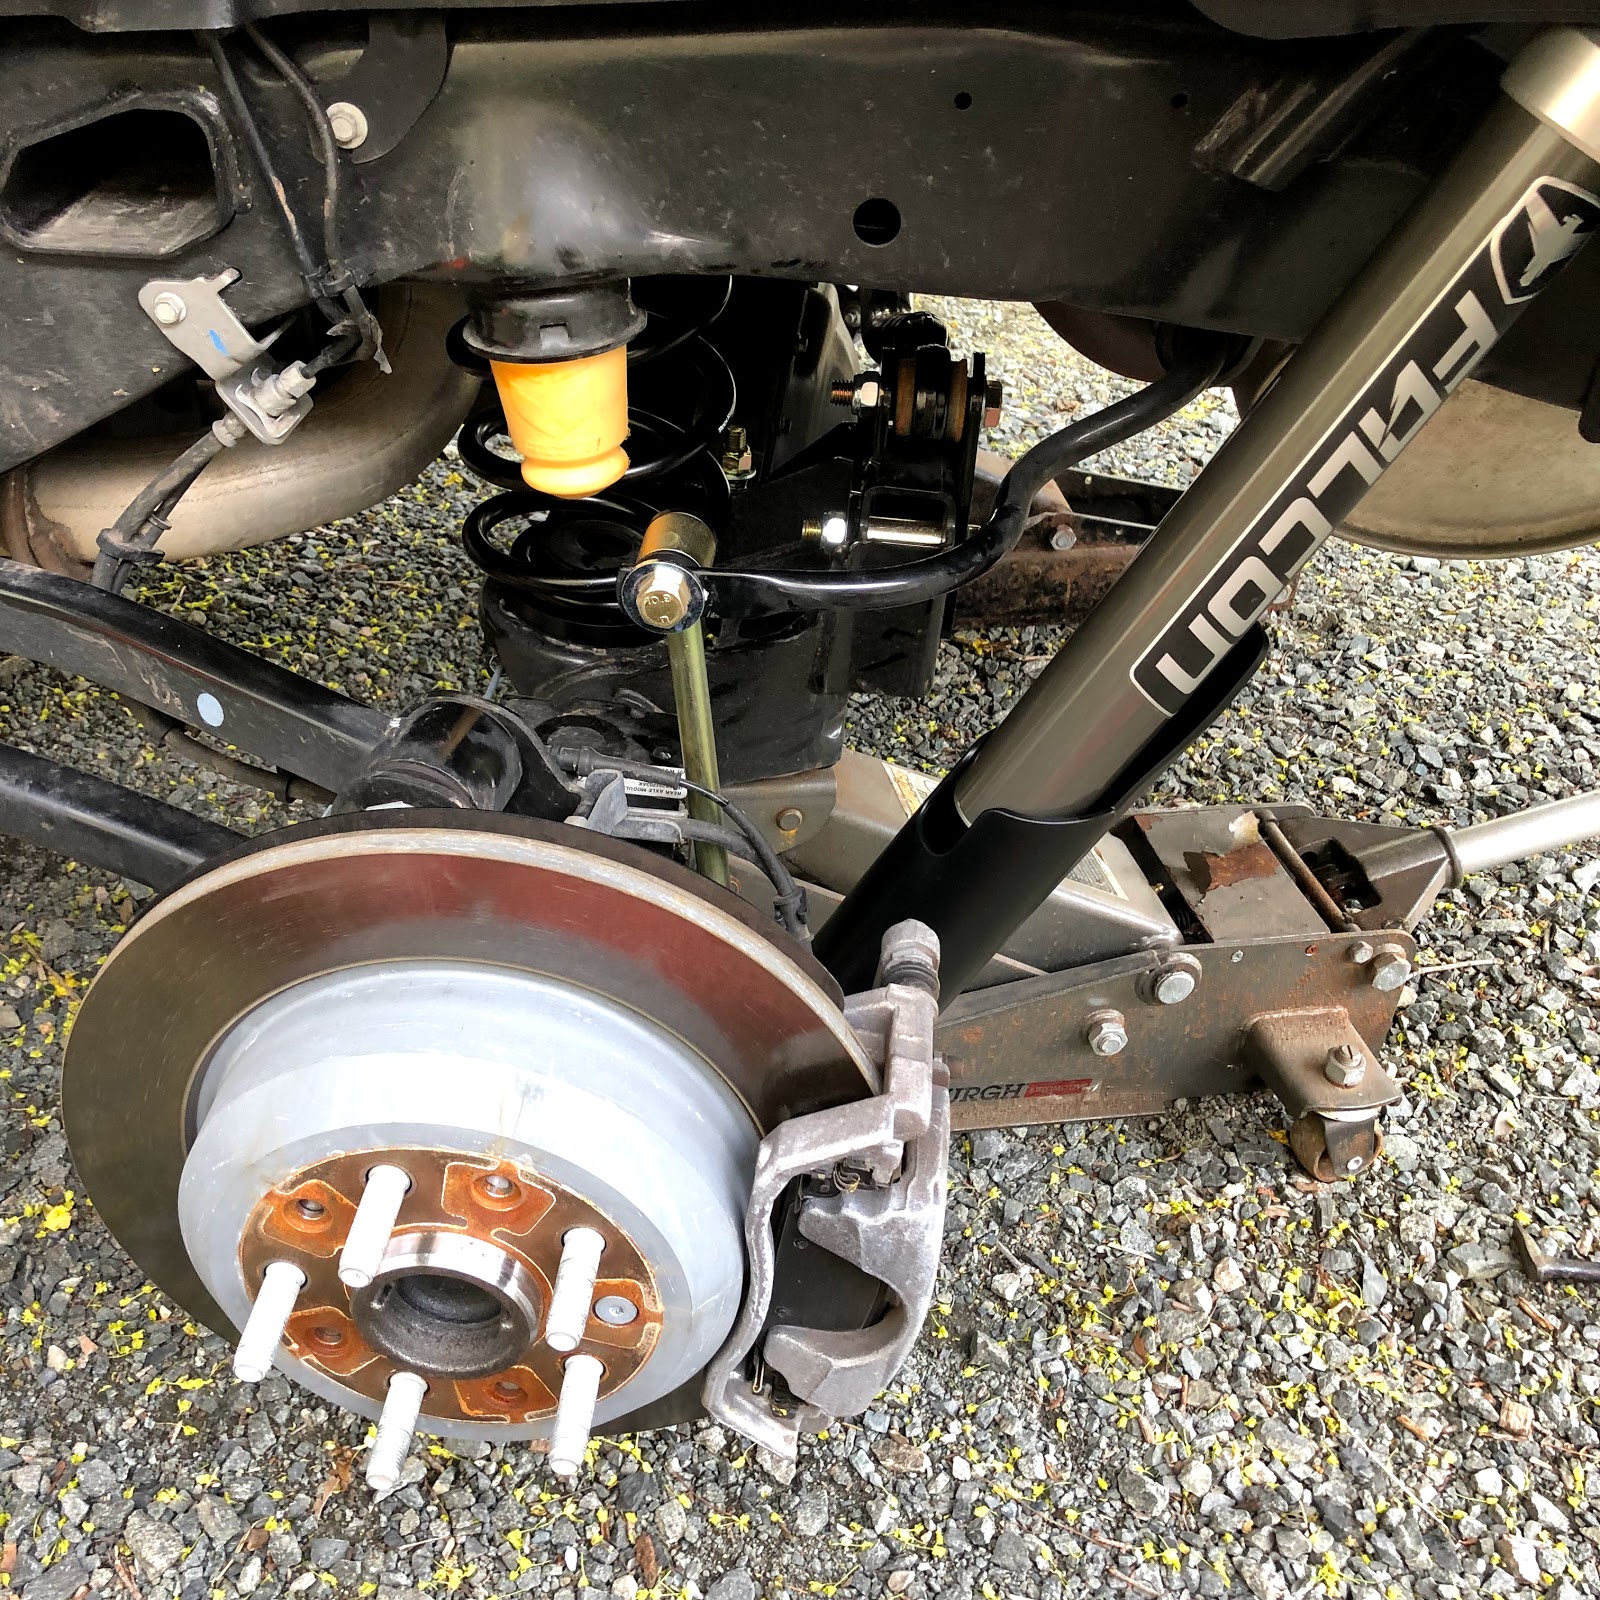
- Install the new Falcon shocks - We trimmed a little of the inner fender plastic to make it easier to reach the bolts for installation.
- Pre-adjust the Tie Rod to the appropriate length (indicated on the back of the installation instructions that came with the kit) and install the new one. Torque is very important here as in many of the step so please make sure you read the directions and set everything properly to specifications.
- Reconnect the breather mounts
- Reconnect the right and left brake line mount.
- Reconnect the front cable for the electronic locker.
- Re-install the front wheels and lower the vehicle.
- Move to the back and make sure to properly jack up the rear of the vehicle and support it on the jack stands.
- Disconnect the rear E-Brakes and rerun the cables in front of the rear cross member to provide addition length.
- Disconnect the rear cable for the electronic locker.
- Remove the two rear wheels.
- Remove the rear bump stops from their cups.
- Remove the rear shocks
- Again, please retain the factory bolts and nuts referring to the directions for use.
- Loosen and remove the rear track bar from the axle end so you can install the adapter form the kit.
- Lower the rear axle and remove the rear springs.
- Remove the rear sway bar links and install these on the front of the Jeep.
- Install the new rear coil springs, using the supplied bottom shims/mounts (these are side specific) and reusing the tops.
- Install the new rear shocks.
- Install the new bump stops.
- Install the new sway bar links.
- Reconnect the rear track bar to the new bracket on the axle.
- Reconnect the rear E-Brakes and rerun the cables in front of the rear cross member to provide addition length.
- Reconnect the rear cable for the electronic locker.
 |
| Post Lift |
The Journey is what counts, Adventure Awaits!
No comments:
Post a Comment