Tuesday, April 9, 2019

As Grandmaster Flash would say, "Let's get higher baby!"

Now that I got that tune stuck in your head, I just picked up new parts for my JLRU build...

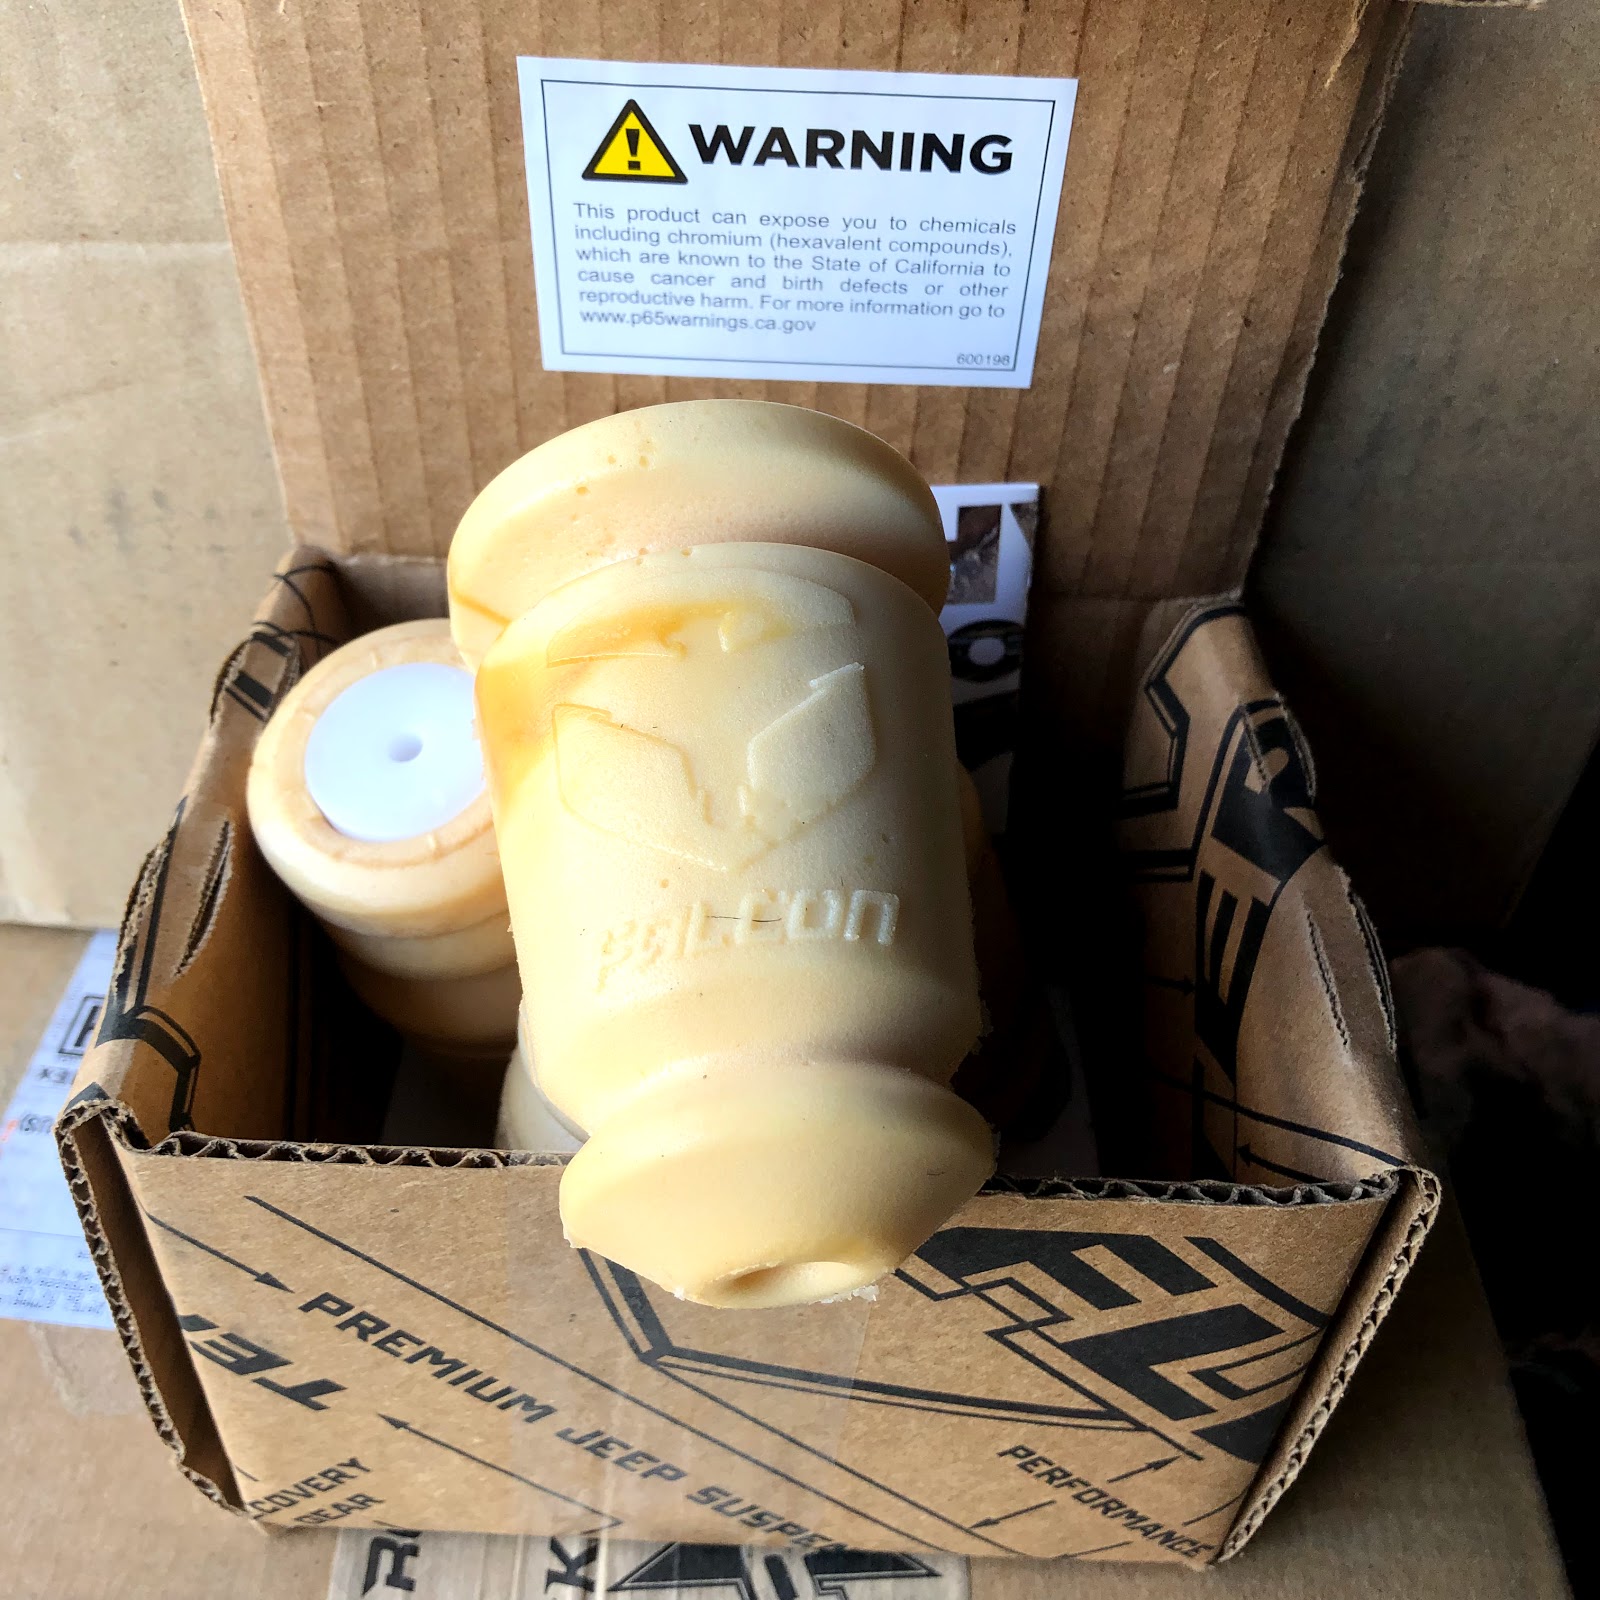
Pretty excited to get this install moving, really hoping for some nice weather this weekend! I shopped local and the guys over at Globex Performance hooked me up, they gave me some great suggestions and the best price around including online. It's always worth checking out the local guy, they might be the one you need to count on in an emergency. Ask for Glen or Mike and tell them Dan from NJJA sent you...

Hear's the breakdown:
  • Rock Krawler Adventure Series Stock Mod 2.5" Lift Kit
  • Teraflex Falcon Series 2.1 Monotube Shock Kit
  • Teraflex 1959200 Falcon Performance Bump Stop Kit
This is the first time I "built" my own lift kit instead of just buying a complete set and I did it fir a couple reasons... Primarily, I wanted a lift kit that I could upgrade and adapt as my driving needs change over time. On my JKU, I installed the AEV 2.5 lift kit and while I loved the ride and the way the kit performed, you needed to completely replace it if you wanted to ever go higher. With this Rock Krawler kit, I can just add additional components as I go. Next, I would say my OCD took over, since I already had the Teraflex Steering Stabilizer (and really love the performance), I wanted to stick with Falcon and install their shocks. I would have really loved to install the Teraflex Falcon Series 3.3 Fast Adjust Piggyback Shock Kit but that was a bit out of my budget at this point. Finally, I chose the Teraflex bump stops as I really like the simplicity of the design.

Anyway, I will update one I get the installation done. I will take some before and after pictures as well as record the actual lift change once complete.

Now I just need to upgrade the tires and rear bumper to complete Phase 1 of my build...

The Journey is what counts, Adventure Awaits!

Thursday, March 14, 2019

LOD JL Signature Series Shorty Bumper Install


So this is probably about the 6th or 7th bumper that I have installed over time and I think this had the worst directions of any including the used ARB bumper that had no directions. Now I liked everything else about the bumper and the install but just had to call out that some of the directions were just wrong or missing. It was odd to see and in some places, we just made our best guess.

Scoring for the Bumper install comes out to a 12 out of 15 so pretty good:

     Price - 2 ($621.24)
     Completeness of Directions - 2
     Completeness of parts/materials - 2
     Ease of Installation - 3
     Final Product - 3

Scoring for the Skid Plate install comes out to a 14 out of 15 so it's the best so far:

     Price - 2 ($119.99)
     Completeness of Directions - 3
     Completeness of parts/materials - 3
     Ease of Installation - 3
     Final Product - 3


Basically the steps are as follows:

  1. Remove the old bumper - be sure to unplug the wiring harness for the fog lights on the passenger side (frame rail where the bumper joins the frame)
  2. Separate the inner part of the old bumper to remove the fog lights and the wiring harness for reuse on the LOD bumper
  3. Next I removed the frame cross member that ties the two sides together
  4. I then installed the fog lights into the mounts on the new bumper and ran the old wiring harness to connect them
  5. The next step is to mount the two frame brackets with the spacers so you can install the winch plate. This is a relative easy step but takes a little "magic" to align everything and have it remain in place while you fit the winch plate and secure it. Extra hands help! This is also where the directions became a bit "loose". Additionally in the pictures it shows what looks to be grade 8 bolts but what I got in my parts box looks like grade 5.
  6. Once you have all 8 bolts in place, you can test fit the front bumper. Use a nut on each side to help secure it while you are working.
  7. Once everything looks good, you can tighten down the bolts and connect the wiring harness back up for the fog lights.
  8. Next step is to install the winch (if you have one). This is pretty simple with just four bolts to secure it to the bottom of the winch plate and then wire it up.
  9. Last step is to install the skid plate underneath the bumper and running to the cross member. This was five bolts, three in front and two in the rear and everything was done!

I like the look of the new bumper and love having my winch mounted up again. This bumper looks very well made and I like the powder coat they used. It is slightly glossy but not "shiny" and looks like it will last. The only caution I have is that this Shorty bumper combines a recessed winch mount AND the fog lights and if you have been shopping for bumpers you know this is a tough combination. The fog lights sit in front of the winch so it extends the front of the bumper out a bit. I knew this going in and accepted the trade off, make sure it works for you before you buy it. With the winch fairlead, this sticks out even more. I have already ordered a new synthetic winch line and hawse failrlead so I will be able to reduce the weight and length somewhat. I will post new pictures when they are installed.


The Journey is what counts, Adventure Awaits!

Falcon Nexus EF 2.2 Steering Stabilizer Install

I should have written this last week but life got in the way, I am sure you can all relate...

Two weekends ago, I headed over to Chris' house and we set about installing the new Falcon Steering Stabilizer, front LOD Stubby bumper, skid plate and associated lights and winch! It was about 2-3 hours worth of effort combined and I think it went pretty well.

Scoring for this install comes out to a 13 out of 15 so pretty great:

     Price - 1 ($332.49)
     Completeness of Directions - 3
     Completeness of parts/materials - 3
     Ease of Installation - 3
     Final Product - 3


First up was the FALCON NEXUS EF 2.2 FAST ADJUST Steering Stabilizer from Teraflex and it was a fast and easy install. This is my first Teraflex product but if it is any indication of the quality and future longevity of their products, I am very impressed. My initial reaction is that I really liked the look and feel of the product.  The installation included everything required and was a picture on the inside of the box! There are several instructional videos online as well but you really don't need them. The picture was enough! You start out by removing the factory steering stabilizer:

  1. Remove the tracbar bolt on the passenger side
  2. Remove the two factory bolts that connect the old steering stabilizer to the tie rod (Turn the steering wheel fully to the right to allow the bolts to slide out from the top)
  3. Next remove the three bolts that connect the old steering stabilizer to the axle
  4. Remove the remaining factory bolt that connects the old steering stabilizer to the tie rod bracket and save it for reuse
  5. Install the Falcon Steering Stabilizer to the axle using the factory hardware and torque to 30 ft pounds
  6. Insert a provided carriage bolt into the new top bracket and spacer
  7. Install it on top of the tie rod bracket and insert another carriage bolt
  8. Put the bottom bracket into position and install the two nuts
  9. Using the factory bolt that you saved from step 4, install the bolt into the remaining hole in the mounting bracket attaching the steering stabilizer in the process
  10. Tighten all three of these nuts to 59 foot pounds
  11. That's it, Go for a Drive!
I think short of a light, this is the easiest thing I have installed to date on any of my Jeeps. You can also notice the difference immediately, the settings are as follows:
  • Soft, intended for off-road and rock crawling, gives you really good feel
  • Medium, intended for normal driving and some trails, feels more "responsive"
  • Firm, intended for highway driving, is very "tight" as it's name implies
I drove it around for the past two weeks trying out each setting and settled on Medium for the daily driver chores. Saturday I leave for Florida and plan to set it to Firm for the long ride down. When I hit the trials next, I will give Soft a try to get a really good feel for the differences.

The Journey is what counts, Adventure Awaits!

Friday, March 1, 2019

Plans for the weekend...

In my previous post, I shared that I was quite excited last week to take delivery of my new bumper only to be disappointed when only the skid plate showed up. Fast forward to today and I have received the bumper and also my Alien Sunshade.

Test Fit everything on my kitchen table - I have a great wife!

Tomorrow I am hoping to get it all installed. Plans include (in order of importance):

  • Help my buddy install new wheel bearings on his truck
  • Remove JL Bumper
  • Remove JL stock Steering Stabilizer
  • Install Falcon Nexus Steering Stabilizer
  • Install LOD Bumper
  • Re-install my SmittyBilt Winch
  • Install LOD Bumper Skid Plate
If I can get all this done, it will be a great day! I am not sure I can get the weather to cooperate but going to give it a try, my kingdom for a heated garage!

Hopefully, my next posts will be installation reviews for the above...

The Journey is what counts, Adventure Awaits!

Well Packaged - Alien Sunshade

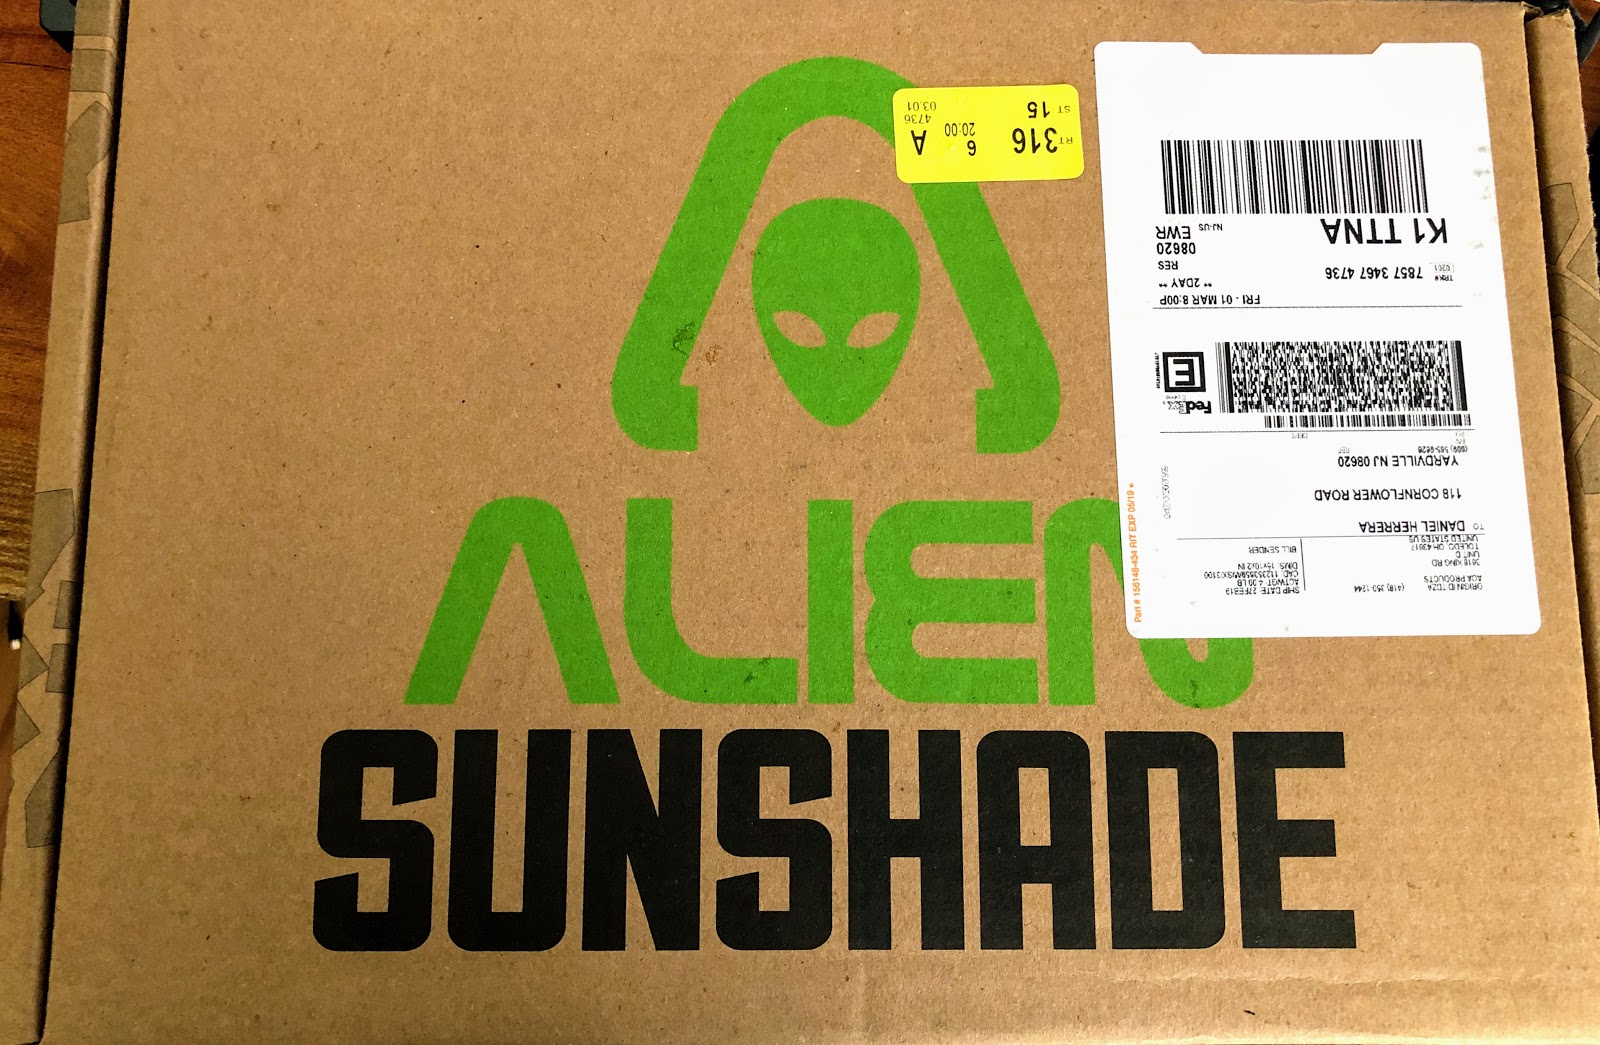
I just received my order from Alien Sunshade for my new sun shade for the JL. Nothing too awesome in that except for the fact that it was one of the first things I have received in quite a while that was packaged really well. I am a little "sensitive" to this as I also received my new bumper this week and it was a bit different...

Now I realize that a bumper is quite a bit heavier than the sun shade is but with everything we order for our Jeeps, you would think they could do a better job on shipping. The bumper was packed in an appropriately sized box but they used spray foam to surround the bumper which led to two things:

  • It was a mess, not quite as bad as packaging peanuts but a pain in the ass to open and dispose of.
  • The two points on the bumper pushed easily through the spray foam and the box to protrude through the cardboard
To add to the issue, the bumper is about 75 pounds so the FedEx driver decided that dragging it on end to my door was better than carrying it! Needless to say, I had to paint to two ends of my brand new bumper to cover up all the scratches. Luckily there was no damage to the bumper and the scratches were superficial so it was not worth sending it back or making a big deal about it.

Today, as comparison, I received the box from Alien and it was packed really well without any mess and seems to be mostly recyclable.


It's not a big deal but when I opened up the box, it just seemed like whomever packed it really knew what they were doing and cared to make sure it looked great inside and out. By contract, the bumper showed up in decent shape but scratched and in a package that my recycling garbage men will not take so it all goes to the dump.

Either way, I am really excited to "install" both this weekend and hopefully grab some time to also get my Falcon Nexus steering stabilizer in as well.

The Journey is what counts, Adventure Awaits!

Friday, February 22, 2019

Expectations vs. Reality and a Rattle Can!

So in my last installment, I let you know that I had just ordered my front bumper and was quite excited for its arrival. Jump ahead to this past Wednesday and I received shipping information from FedEx that it would arrive by Thursday, shorty mini-snow storm and the date shifted slightly until to today! Imagine my excitement when I heard the knock on the door and my dogs going crazy, each bark and snarl letting me know that it had arrived... Now imagine my horror when I realized that only the skid plate for my bumper had shipped and nothing else...I did not pay enough attention to the shipping note to see that it was only 18 pounds.

So now my weekend plans for my new bumper install are on hold and I am forced to sit and stare at my relatively useless (until everything else shows up) skid plate, what to do, what to do???

I know! Let me spray paint it with something blue! In keeping with The Great White the Jeep theme, I think a Shark would be appropriate and I think the skid plate will make a perfect pallet for my artistry.

Arts & Crafts Time!


Once I found a suitable picture and printed it out, I used my trusty Exacto Knife to cut out the appropriate sections.
 Next, I centered and mounted it to the skid plate with blue painters tape and took it outside.

Over spray, can be a bit of a problem so I added more tape and some newspaper to cover the entire skid plate.
 From here, I just used sprayed away until I felt I had good coverage.

Once it was dry enough, I brought it inside the house to finish drying as it's really too cold outside right now. As you can see, my stencil failed in places so once it is all dry and set, most likely tomorrow, I will go over it with black paint to sharpen the blur. I will do this with a brush so I have more control. All in all, it made the missing bumper sting just a bit less, can't wait to show you everything installed and ready for the trails!
The Journey is what counts, Adventure Awaits!

Saturday, February 16, 2019

Ordered my Front Bumper from Northridge 4x4

I finally pulled the trigger on my front bumper. I picked the LOD JL Signature Series Shorty with Bull Bar. This bumper has the fog light cutouts and recessed winch mount that I was looking for in a very nice looking package.

Northridge 4x4 was not running a specific sale but Sean (Thanks!) gave me a discount code to use that saved me some cash along with the free shipping so that was great. I purchased the following parts:
I plan on ordering the matching rear bumper once I have a bit more cash or I see a nice enough sale come along. It will most likely be the LOD DESTROYER FULL WIDTH REAR BUMPER.

So now I just need to wait till they drop ship from the factory so hopefully that will not bee too long. I would like to get everything installed in the next few weeks if possible. Until then, I have this picture to look at...
Not my JL but similar!
The Journey is what counts, Adventure Awaits!

Saturday, February 9, 2019

Added some Amazon.com LED lights to my A-Pillars with KC Brackets

I just got back from my work trip to RTP and finished the 935 mile round trip journey averaging 24 MPG!!! I am really excited about how well the JL Rubicon handles on the road and sips fuel (well at least for a Jeep)!

So the 75 degree weather I was experiencing in NC, inspired me to take on a small project when I got home. It was much colder up here in NJ but still sunny out so I figured I would get something done. I installed some lights on my A-Pillars that I purchased from Amazon.com pretty cheaply. They are not what I plan to keep on the Jeep but for the price it was worth it. I had already ordered the KC HiLites 7318 Jeep JL Wrangler A-Pillar Light Brackets (also from Amazon.com) so I was anxious to start.

What you will need:
So these lights come with two modes and three wires, a RED "Power" wire for the white LEDs, a WHITE "Power" wire for the blue markers, and a BLACK negative wire for grounding. You need to figure out how you want the lights to work, wiring the red and white together to the same power wire will result in these two lights switch on together without any control over individual lights. If you wire them separately to different power wires then you need to have multiple switches to turn them on and off. You just need to decide what works best for you. I decided to wire the Blue marker lights into my Bus Bar that I installed a few weeks ago for my KC HiLites Cyclone Rock Lights. This means that they will illuminate when I hit the Rock Light Switch (Aux 4) inside my Jeep. I did this as I am not sure I will be keeping these specific lights long and I did not want to waste another switch until I figure out my real plan. I wired the White LEDs to the Orange/Purple power wire under my hood so I could utilize the "Aux 3" switch inside the Jeep for those lights. I wired the Black common ground to the same grounding point I used for the rock lights under the hood. All in all, this is a very simple install if you are decent with wiring and just slightly mechanically inclined.
pre-light install but in need of a wash from all the Road Salt
 The KC HiLites light mount bracket is a sturdy little mount that is much nicer than the ones I had for my JK. I like they way these fit better. You have the plate itself that you mount the light to, a spacer that goes under the plate and the replacement bolt and washer that run through the plate, spacer and into the cowl.
 Start by removing the windshield hinge bolt with the T45 Torx and then the cowl bolt closest to the windshield with a T40 Torx. You will need to actually remove the entire cowl body panels if you want to hide the wires underneath (which is what I did) so you can just remove all four bolts with the T40 Torx at this point. After the bolts are out, you can drop the spacer into place in the closest hole.
 The plate mounts using the windshield bolt and the supplied bolt (you do not need the one you took out of the cowl so save that in your parts bin). At this point I just mounted it loosely so you could see it for the pictures but I did not screw it down as you need to still pull the sides of the cowl for the wires.

  To mount the lights, I grabbed two suitable washers from my parts bin (always good to have a parts bin) as the washers that come with these particular lights are only lock washers and they were too small to work with the slot on the mounting plate. Using these fender washers allowed me to tighten down the nut and the lock washer properly without any issues.
 Once I had the lights mounted, I began to wire them up. You will need to extend the wires so they can reach the other side of the Jeep (or wherever you are running your power from). As I said, I used the wiring from my rock lights for the marker light and the Aux 3 switch wire and both of those are on the passenger side right near the battery. This picture is of the driver side so once I spliced in and heat shrunk the connectors, I ran the wiring across the back of the engine compartment and zip-tied them up and out of the way. It looks better and is much more organized than just trying to tuck the wires somewhere plus with them zip-tied together, it is easy for me to figure out what wires are what when I do my next project down the road.
 The green wire you see in the picture is the power wire for the marker lights and this is the Bus Bar from my rock lights so it was and easy connection to wire those up. The red wire leads to the power wire for the Aux 3 switch so that was also a quick connection. The final step was to wire up the common ground to the bolts just above and to the right of the Bus Bar in the picture. I like using these as they as used by the factory for the same purpose and there is no paint so you get a great ground from them. Figure if the factory did it that way then it is a safe bet it will work well.

 Definitely an easy install that should not run you more than an hour tops. I am still looking for better lights like the KC HiLites 300 Driving Lights or the KC HiLiTES 268 Flex LED Dual, the Baja Designs 55-57815 Amber Squadron Lights, or possibly the Sylvania - Cube-X LED Off Road Lights. What I would really prefer if for KC HiLights to make a 3-4 inch version of my  KC HiLites 653 Gravity G6 lights so I could have a matching set on the bumper and the A-Pillars! I can dream can't I??? Oh well, these will work fine for now and I will keep playing the lottery to fund something else...

The Journey is what counts, Adventure Awaits!

Wednesday, February 6, 2019

Highway Miles


Just a quick update to share some “real world” highway experience with my JLU Rubicon on my recent work trip down to RTP. I hate waiting at airports and all the delays that happen this time of the year. Door to door from my house is about 8 hours even so it sometimes works out about the same as flying down when you factor in all time and time lost at the airport. As a bonus, I then have my Jeep to drive around for the week verse a rental car and I get .53 cents per mile so it’s win/win all around!

Now the real reason for my post is to share what a pleasure the drive down was, there is really no comparison between what my 2014 JKU with the V6 drove like and what my new JLU Rubicon with the 4 cylinder engine did on the highway. For comparison, both have 4.10 gears and both are running 285x70x17 tires. My JKU had about 72k miles on it and the JLU Rubicon had 1000 so that is definitely a factor but even New, the JKU never felt as comfortable on the road and it was just a Sport S.

As you can see from the picture, I was able to drive 70 miles per hour at about 2000 RPMs while averaging 22.5 MPG! That is a huge improvement over my JKU. I was typically seeing about 17 MPG on the highway at 65 MPH and dropped from there as I got closer to 70 MPH. The noise levels between the two are also quite different and both have soft tops. The JLU Rubicon has a much better sound system and I love the leather seats. All in all, this is a much more refined Jeep than what I had before and I am really looking forward to taking it to the Jeep Jamboree in May!

If you like what you are reading, please also checkout my Instagram page and click Follow!
The Journey is what counts, Adventure Awaits!